

Your grocery money, your household money, your little treat money: each one gets its own zippered spot. This sky blue A6 budget binder with 12 cash envelopes and writable labels makes your weekly check-in quick, clear, and surprisingly satisfying.
A cash envelope system gives your spending categories a place of their own. If seeing what remains helps you stick to a plan, a small budget binder can keep your envelopes together and make a weekly check-in easier.
A product to consider: Antner A6 Budget Binder
The Sky Blue Antner set linked below is listed with a six-ring PU leather binder, 12 zipper cash envelopes, and 20 writable labels. The cover measures approximately 7.48 by 5.2 inches. These are listing-based features; Cheap101 has not personally tested this product.
Who may find it useful
This format may suit someone who pays cash for everyday purchases and wants separate categories for groceries, transport, household supplies, or a modest savings goal. It is less useful if nearly all your spending happens online.
Try a simple weekly routine
Choose three categories to start. Write a realistic spending allowance for each, place the corresponding cash in its envelope, and record purchases on a small sheet of paper. Check the remaining balance before your next shopping trip. If you move money between categories, write that down too.
For example, you might set aside $40 for a week of discretionary spending. The amount is your choice: the purpose is to make your own limit visible, rather than follow somebody else’s challenge.
Before you buy
Check the selected color, included accessories, delivery cost, and return terms on Amazon. Confirm refill dimensions and hole spacing before ordering extra inserts. A binder organizes cash; it does not protect it from theft. Carry only what you need, and keep money for essential payments separate.
A free way to start
Try three paper envelopes and a notebook first. If the routine helps but the envelopes become awkward to carry, a reusable binder may be a worthwhile upgrade.
Check Amazon for current price, availability, and the exact contents of the selected set.
Explore more Money-Saving Tools.

Tactical Cargo Socks
Looking for a gift that’s both brilliantly practical and budget-friendly? These Tactical Cargo Socks check all the boxes-and then some. They’re the ultimate cheap-yet-genius gift for any outdoorsy friend… or for your own frugal feet. With cozy warmth and built-in waterproof pockets, they let you stash your essentials right in your socks (because who needs a fancy bag?). Whether you’re hiking a trail or sneaking snacks into the movies, these socks prove you don’t have to spend big to think smart.

How to Organize Bills and Household Records (With a Simple File Box)
Imagine finding any bill, warranty, or tax record in under a minute. A simple filing system turns a stack of mail into a calm, orderly home for your paperwork, and it can be set up in one cozy afternoon.
Step One: Sort Into Three Piles
Gather round, students! Grab all the papers in your home and make three piles:
- Action: bills to pay, forms to fill out, and anything with a deadline.
- Keep: records you need to hold on to for a while or for good.
- Let go: ads, duplicates, and papers you are finished with. Shred anything with private details.
Step Two: Create Simple Categories
Now give your “keep” pile some friendly folder names. Broad categories work better than dozens of tiny ones. A handy starter set:
- Home (rent or mortgage, property tax, repairs)
- Utilities (electric, water, gas, phone, internet)
- Bank and credit card statements
- Insurance (home, auto, health)
- Medical records and receipts
- Car (title copy, registration, maintenance)
- Taxes, with one folder per year
- Warranties and manuals
Put the newest papers at the front of each folder. That way the most recent bill is always the first one you see.
Step Three: Keep a Little Mail Station
Most paper piles start at the front door. Set a small tray or basket where you open mail. Open each piece right away, toss the junk, put bills in the action spot, and file the rest once a week. Ten minutes on a Sunday keeps everything shipshape.
Step Four: Do a Yearly Tidy
Once a year, maybe after you file taxes, flip through each folder. Move the finished tax year to long-term storage and let go of statements you no longer need. The IRS website explains how long to keep tax records, and your bank or insurance company can tell you about their papers. Truly important originals, like deeds and wills, deserve a special safe spot of their own.
Try It Free First
A sturdy shoebox or a cardboard shipping box makes a fine starter file. Use old envelopes or folded cereal box cardboard as dividers, and write the category names on them with a marker. Ask friends or a local office if they have leftover folders, since many people are happy to pass them along.
Where a Household File Box Fits In
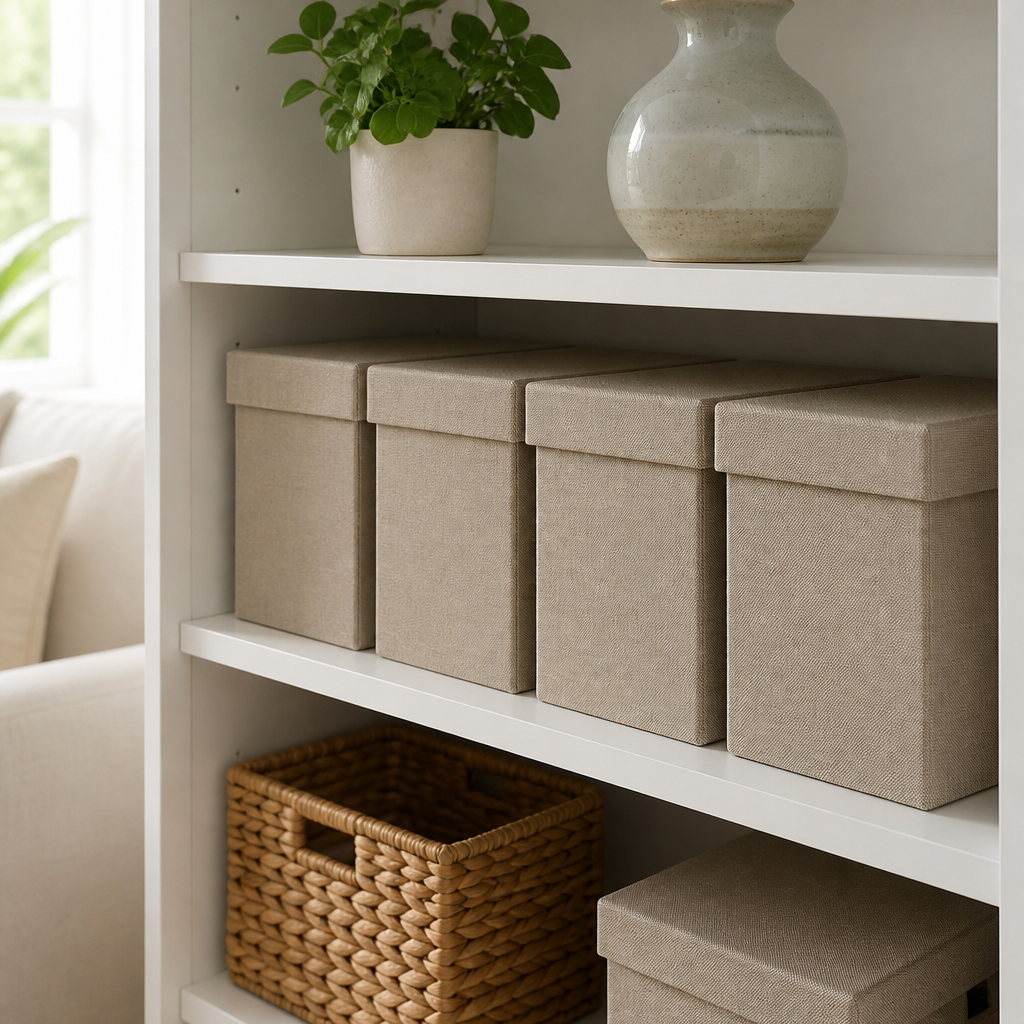
A household file box with hanging folders gives your system a neat, lasting home. Folders slide easily, nothing gets bent, and many boxes have a lid and a handle so you can tuck them onto a shelf or carry them to the table. Some even come with a latch or lock.
It suits apartment and condo living, people who do not have room for a filing cabinet, and anyone who likes a tidy, matching look on the bookshelf.
What to Look for When Comparing
- Size: letter size suits most home papers, while legal size fits longer documents.
- Folders included: some boxes come with hanging folders and tabs, others do not.
- Material: plastic resists moisture, while fabric and cardboard styles are lighter.
- Lid and handle: helpful for dust protection and moving the box around.
- Stackability: nice if you plan to add a second box later.
- Reviews and return terms: compare a few listings before choosing.
Professor Ima’s Wrap-Up
An organized file is like a good friend: always there when you need it and never making a fuss. Sort, label, and give your papers a happy home, and you will have more time for the fun parts of life. That is an A-plus in household management!
As an Amazon Associate, Cheap101 earns from qualifying purchases, at no extra cost to you. Browse more handy finds in the Student Store.

Budget Bytes by Beth Moncel: Tasty Recipes That Stretch Your Groceries
Budget Bytes by Beth Moncel proves that inexpensive food can be colorful, flavorful, and fun to cook. Her cookbook gathers over 100 easy recipes plus smart tips for making every grocery dollar count.
Beth Moncel started the Budget Bytes blog to show that cooking on a small budget could still be delicious. The blog became hugely popular, and her first cookbook, Budget Bytes: Over 100 Easy, Delicious Recipes to Slash Your Grocery Bill in Half, brought her approach to the kitchen counter. Professor Ima considers it required reading for the Kitchen Savings department.
What the Cookbook Is About
The book combines easy, flavorful recipes with a peek behind the price tag. Moncel is known for breaking recipes down by approximate cost, which helps cooks see which ingredients carry the most value. Prices change over time, of course, but the habit of thinking about cost per serving stays useful forever.
The Big Ideas
- Flavor comes from smart ingredients. Spices, garlic, citrus, and fresh herbs can make humble staples taste wonderful.
- Stock a thrifty pantry. Beans, rice, pasta, oats, canned tomatoes, and frozen vegetables give you a head start on many meals.
- Cook once, eat twice. Many recipes make enough for leftovers or freeze well for later.
- Use ingredients across several recipes. Buying a bunch of cilantro for one dish? Plan another that uses the rest.
- Think in cost per serving. Knowing roughly what a portion costs helps you plan a happy week of meals.
Who Will Enjoy It
It is perfect for new cooks, students, busy families, and anyone cooking for one or two who wants variety without waste. Experienced home cooks will also find fresh ideas, especially for bowls, soups, and big-batch dishes.
Ideas Readers Can Try Today
- Make a simple bean and rice bowl and dress it up with salsa, lime, and whatever vegetables you have.
- Add up the cost of your next homemade dinner and divide by servings. It is often a pleasant surprise.
- Plan two meals that share ingredients so nothing goes unused.
- Freeze extra portions in single-serving containers for easy lunches.
Try It Free First
The Budget Bytes website shares a large collection of free recipes, so you can cook from it tonight. Many libraries also carry the cookbook in print, and some offer it as an ebook through Libby or Hoopla. Used copies show up often too.
Why Some Readers Like Owning a Copy
A printed cookbook is easy to flip through for inspiration, stays put on the counter, and makes a lovely gift for someone setting up a first kitchen. Moncel has also published a later cookbook, so when comparing listings, check which title you are getting, along with used copy condition and price.
Professor Ima’s Wrap-Up
A full plate and a happy wallet make a winning combination. Grab a pot, a few pantry staples, and a pinch of creativity, and you will be dishing up thrifty feasts in no time. Extra credit for leftovers!
As an Amazon Associate, Cheap101 earns from qualifying purchases, at no extra cost to you. Browse more handy finds in the Student Store.

Get What’s Yours: A Friendly Guide to Social Security Choices
Get What’s Yours by Laurence Kotlikoff, Philip Moeller, and Paul Solman explains Social Security in plain, friendly language. It helps readers understand their claiming options so they can feel confident about one of retirement’s biggest choices.
Social Security has a lot of moving parts, and these three authors make a delightful team for explaining it. Laurence Kotlikoff is an economist at Boston University, Philip Moeller is a longtime retirement journalist, and Paul Solman is the business and economics correspondent for the PBS NewsHour. Together they wrote Get What’s Yours: The Secrets to Maxing Out Your Social Security.
What the Book Is About
The book walks through how benefits are calculated and how the timing of a claim can affect lifetime income. It covers retirement benefits, spousal benefits, survivor benefits, benefits for divorced spouses, and how work and taxes interact with Social Security. The authors write with humor and plenty of real-life examples, which makes a complex topic much easier to follow.
The Big Ideas
- Timing is a big decision. Monthly benefits grow for each year you wait past your earliest eligibility, up to age 70, so the claiming age deserves careful thought.
- Couples can coordinate. Spouses may be able to plan their claims together to support the household and a surviving partner.
- Know every benefit you may qualify for. Spousal, survivor, and divorced spouse benefits are often overlooked.
- Ask good questions. The authors encourage readers to understand the rules well enough to confirm details with the Social Security Administration.
A helpful note: Social Security rules change from time to time, and some claiming strategies in early printings were changed by law in 2015. The authors released a revised edition to reflect this, so the newest edition is the best choice, and readers should double check current rules at the official Social Security website.
Who Will Enjoy It
It is ideal for anyone in their fifties or sixties thinking about when to claim, married couples planning together, widows and widowers, divorced readers, and adult children helping parents with their paperwork.
Ideas Readers Can Consider Today
- Create or log in to your my Social Security account on the official SSA website and review your earnings record.
- Look at your estimated benefit at several claiming ages to see the range of options.
- If you are married, sit down together and compare both records.
- Write down your questions before calling or visiting the Social Security office.
These are ideas readers can consider, not personal financial advice. The Social Security Administration and a trusted professional can help confirm what applies to you.
Try It Free First
Many public libraries carry Get What’s Yours in print, and some offer the ebook or audiobook through Libby. The Social Security website also has free calculators and plain-language guides that pair nicely with the book.
Why Some Readers Like Owning a Copy
Claiming decisions often unfold over several years, so many readers like keeping a copy to revisit as each birthday milestone approaches. When comparing listings, look for the revised edition and check publication dates on used copies.
Professor Ima’s Wrap-Up
You worked hard for those benefits, and understanding them is time well spent. A little homework now can bring confidence for many years to come. That is a lesson worth every minute!
As an Amazon Associate, Cheap101 earns from qualifying purchases, at no extra cost to you. Browse more handy finds in the Student Store.
The Frugal Homeowner’s Guide to Mechanical Non-Electric Bidet Attachments
Here is a bathroom upgrade with a fresh, clean finish and a happy wallet. A non-electric bidet attachment runs on your regular water pressure, installs in about twenty minutes with basic tools, and can trim your toilet paper use way down.
Welcome to module eight of the student store gear guide series for the Masters in Savings program at Cheap101.com. In household budget audits, recurring paper goods represent one of the steadiest, least flexible expenses on the monthly receipt. Every supermarket trip includes multi-packs of bath tissue, paper towels, and wipes that command premium prices on retail shelves. Over the course of a single year, an average household spends between one hundred fifty and three hundred dollars solely on toilet paper, flushing that money directly down the plumbing.
Beyond the recurring out-of-pocket financial cost, paper dependency leaves households vulnerable to supply chain disruptions, retail price spikes, and plumbing clogs that require expensive emergency service calls. Installing a mechanical, non-electric bidet attachment provides an elegant, high-return solution. By utilizing fresh household water pressure, a bidet attachment delivers superior personal cleanliness while cutting household toilet paper consumption by seventy to eighty percent. Today’s guide explores the financial return of bidet systems, breaks down the key mechanical features to look for, and walks through a straightforward twenty-minute home installation.
1. The Financial Return of Bidet Attachments
Few bathroom upgrades deliver a faster, more measurable return on investment than a non-electric bidet toilet seat attachment:
- Direct Grocery Savings: A family of four typically consumes one large pack of premium toilet paper every three weeks. By switching primary cleaning from dry friction paper to water washing, toilet paper use drops to just a few drying squares per visit. A twenty-five to thirty-five dollar bidet attachment pays for itself entirely within two to four months of regular use.
- Zero Ongoing Electrical Costs: Unlike expensive luxury bidet seats that require dedicated electrical outlets, internal heating coils, and constant phantom power draw, mechanical bidet attachments operate strictly on the existing water pressure in your municipal water line. They add zero dollars to your monthly electric utility statement.
- Plumbing Protection and Clog Prevention: Heavy toilet paper and supposedly flushable wipes are the leading cause of residential sewer line blockages and septic tank backups. Reducing paper volume protects your home’s drainage lines, avoiding emergency plumber charges that easily run several hundred dollars.
2. Critical Mechanical Features to Look For
Modern non-electric bidet attachments are reliable, streamlined devices engineered for universal toilet compatibility. When browsing options, look for these durable mechanical components:
A. Precision Pressure Control Dial: Avoid basic on-off toggle switches that blast water unpredictably. High-quality units feature a smooth, progressive rotary dial that gives you complete manual control over water spray intensity, allowing you to select a gentle mist or a concentrated stream suited to your personal comfort.
B. Retractable Dual Nozzle System with Self-Cleaning Gate: The best bidet attachments include dual nozzles: one calibrated for general rear washing and a separate forward-angled nozzle optimized for feminine hygiene. When not active, both nozzles retract behind a protective hygienic guard gate. Look for a dial setting with a dedicated nozzle cleaning mode that rinses the spray heads with fresh water before and after each use.
C. Solid Brass T-Adapter Valve and Braided Metal Hose: Cheap plastic plumbing connectors are prone to cross-threading, cracking under water pressure, and causing costly bathroom water damage. Insist on models that include a solid brass T-valve and a flexible, braided stainless steel water supply hose. Metal fittings provide a secure, watertight connection that lasts for decades.
D. Ultra-Slim Structural Profile (Under One-Quarter Inch): Older bidet models were bulky plastic plates that tilted the toilet seat forward, creating an awkward gap and placing stress on seat hinges. Modern ultra-slim designs measure under six millimeters thick, allowing your existing toilet seat to rest completely flat without needing extra bumper pads.
3. Step-by-Step DIY Installation in Under Twenty Minutes
You do not need a professional plumber or specialized tools to install a mechanical bidet attachment. The entire installation takes roughly fifteen to twenty minutes using standard household tools:
- Shut Off the Water Supply and Drain the Tank: Turn the chrome water valve behind your toilet clockwise until fully closed. Flush the toilet once and hold the handle down to empty all remaining water from the ceramic tank.
- Remove the Existing Toilet Seat: Use a standard flathead screwdriver or wrench to unbolt the two mounting screws holding your toilet seat in place. Lift the seat off the bowl and wipe down the ceramic surface.
- Connect the Metal T-Valve: Disconnect the flexible water supply line from the base of the toilet tank. Thread the included solid brass T-adapter onto the tank fill valve, ensuring the rubber sealing washer is seated firmly inside. Reattach the original water supply line to the bottom port of the T-valve.
- Position the Bidet and Reinstall the Seat: Place the bidet attachment over the toilet bowl holes, adjusting the sliding brackets until the spray nozzle is centered. Place your toilet seat back over the bidet brackets and tighten the mounting bolts securely.
- Attach the Bidet Hose and Test: Connect the braided stainless steel hose from the lateral port of the T-valve to the bidet inlet. Slowly turn the water supply valve back on and inspect all connections for leaks. Test the self-cleaning dial setting over the bowl to verify smooth operation.
Cut Toilet Paper Costs from Your Monthly Budget
Browse top-rated ultra-slim non-electric bidet attachments with brass valves, dual nozzles, and quick DIY installation.
Installing a non-electric bidet attachment is one of the highest-return household upgrades available. For a modest one-time investment and twenty minutes of simple DIY work, you permanently eliminate recurring paper expenses and protect your bathroom plumbing for years to come.

Meet the Frugalwoods
Looking for inspiration that’s both frugal and life-changing? Meet the Frugalwoods is a fascinating, heartfelt read that follows Elizabeth Willard Thames’ journey from high-powered city life to a peaceful homestead in the Vermont woods-all by embracing extreme frugality. This isn’t just a story about saving money; it’s about reclaiming time, purpose, and freedom. Elizabeth and her husband Nate saved over 70% of their income, ditched the 9-to-5 grind, and created a lifestyle rooted in simplicity, self-sufficiency, and joy. Whether or not you dream of rural life, this book is a powerful reminder that living well doesn’t mean spending more-it means spending with intention.
Make Hand Soap Last Longer With Refillable Foaming Dispensers
Rich, fluffy foam at every sink, and one bottle of soap that lasts and lasts. Mixing your own foaming hand soap in a refillable dispenser is easy, cheerful and kind to the budget, and your bathroom counter will look lovely too.
Hello, class! Today’s lesson is a bubbly one. Foaming hand soap feels luxurious, but the secret is that the foam is mostly air and water. A special pump mixes them with a little soap as you press. That means you can make your own at home and enjoy the same fluffy lather for a fraction of the cost per wash.
How to Mix Your Own Foaming Hand Soap
This is about as easy as recipes get:
- Add water first. Fill your foaming dispenser most of the way with water. Adding water first keeps the soap from bubbling up as you pour.
- Add a little liquid soap. Many people use roughly 1 part liquid hand soap or castile soap to about 4 or 5 parts water. Start there and adjust to your liking.
- Swirl gently. Put the pump back on and tip the bottle softly to mix. Shaking hard makes extra bubbles inside the bottle.
- Test and tweak. If the foam is too thin, add a bit more soap. If the pump feels stiff, add a bit more water.
- Make small batches. Mix only what you will use in a few weeks so every refill is fresh.
More Ways to Stretch Your Soap
- Buy refill jugs. Large bottles of liquid hand soap or castile soap usually cost less per ounce than small pump bottles.
- One pump is plenty. Foam spreads easily, so a single press is usually enough for clean hands.
- Use up the ends. Add a splash of water to a nearly empty soap bottle, swirl, and pour it into your foamer.
- Keep pumps clean. Rinse the pump with warm water between batches so it keeps working smoothly.
- Add a pleasant scent. Choose a refill soap with a fragrance you love, and every hand wash becomes a little treat.
Try It Free First
If you already have an empty store-bought foaming soap bottle, you own a foaming dispenser! Rinse it out, fill it with your homemade mix, and you are in business. Those pumps are designed for thin soap, so they work beautifully with a watered-down mix. Regular thick-soap pumps will not foam, so be sure to reuse a foaming one.
Where Refillable Foaming Dispensers Fit In
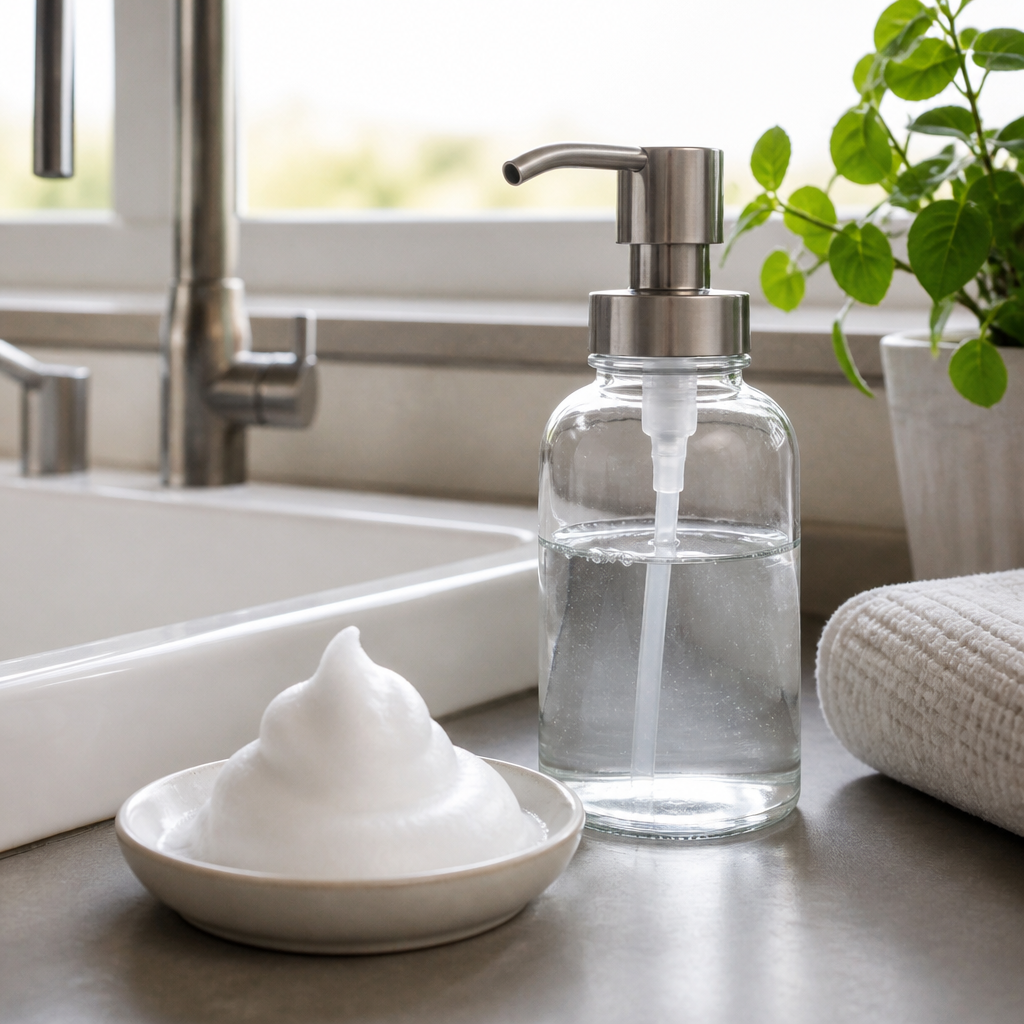
Refillable foaming dispensers are bottles made to be filled again and again. Many come in glass or sturdy plastic with stainless or matte pumps, so they look tidy beside the kitchen sink or in the bathroom. Some sets include matching bottles for every sink in the house, which makes refilling day quick and easy.
They suit families, anyone hosting guests, and folks who enjoy a coordinated, uncluttered counter. The button on this page is a search for this type of product, so compare listings, reviews, sizes and return terms before choosing.
What to Look For When Comparing
- Foaming pump: Make sure it is a true foaming pump, not a standard lotion pump.
- Material: Glass looks elegant; sturdy plastic can be a good pick for busy homes.
- Capacity: Larger bottles mean fewer refills.
- Wide opening: Makes filling easy and spill-free.
- Rust-resistant pump: Helpful for bottles that live by a wet sink.
- Stable base: A weighted or non-slip bottom keeps it steady.
Professor Ima’s Wrap-Up
Clean hands, happy sinks and a soap supply that keeps going: now that is a lesson worth lathering up about. Mix a batch, swirl it gently, and enjoy that cloud of foam knowing your budget is smiling right along with you. Class dismissed!
As an Amazon Associate, Cheap101 earns from qualifying purchases, at no extra cost to you. Browse more handy finds in the Student Store.

Broke Millennial by Erin Lowry: A Friendly Money Starter Guide
Erin Lowry’s Broke Millennial is a chatty, upbeat money starter guide that covers budgets, credit, roommates, and those awkward money talks. Here is what it covers and simple ideas any age can borrow.
What the Book Is About
Hello, class. Broke Millennial: Stop Scraping By and Get Your Financial Life Together is the first book in Erin Lowry’s popular series. Lowry started out writing a money blog, and her book reads like a friendly chat with a well-informed pal.
It walks through the basics in a practical order: understanding your own money feelings, picking a budget style that fits, building credit, handling student loans, and navigating money topics with friends, roommates, and partners. Lowry also covers how to talk about money openly, which many readers find wonderfully freeing.
The Big Ideas, in Plain Words
- Know your money story. Lowry invites readers to notice the money habits they picked up growing up, since those shape choices today.
- Pick a budget that fits you. She presents several styles, from detailed tracking to simple percentage splits, so readers can choose rather than force one method.
- Credit is a tool. Learn how credit scores work and how to build good credit responsibly.
- Talk about money. The book offers ideas for gracefully handling group dinners, shared bills, and conversations with a partner.
- Start saving and investing early. An emergency fund and a first retirement account are part of the path.
Who Will Enjoy It
The obvious audience is young adults, and it makes a thoughtful gift for a grandchild heading off to a first job or apartment. Older readers can enjoy it too, especially the chapters on money conversations and budget styles, which work at any age. Lowry later wrote follow-ups on investing and on money in relationships if you want to keep going.
Takeaways You Can Try Today
- Write your money memory. Jot down one early memory about money. It can be eye-opening and even fun.
- Try a simple split. Divide take-home income into needs, wants, and savings, and see how it feels.
- Check your credit report. In the U.S., you can request free reports from the three major bureaus through AnnualCreditReport.com.
- Plan a money chat. Pick one friendly topic to talk through with a partner or family member, like a shared savings goal.
These are ideas readers can consider. Your own circumstances should guide your choices.
Read It Free First
Check your public library catalog, plus Libby and Hoopla for the ebook or audiobook. If you want to gift a copy, used paperbacks in good shape are often easy to find and kind to the wallet.
If You Decide to Buy
- Make sure you are getting the original Broke Millennial if you want the starter guide.
- Compare paperback, ebook, and audiobook prices.
- Consider a set of the series if you plan to read more than one.
- Check return terms if it is a gift.
Money basics are like good manners: they serve you well for life. This cheerful book makes learning them feel easy, and I would happily assign it to students of every age.
As an Amazon Associate, Cheap101 earns from qualifying purchases, at no extra cost to you. Browse more handy finds in the Student Store.

The Automatic Millionaire by David Bach: Make Saving Effortless
David Bach’s The Automatic Millionaire has one delightful message: set up your savings once, and let it grow quietly in the background. Here are the book’s big ideas and easy steps readers can consider this week.
Professor Ima has a soft spot for any plan that works while you sleep. The Automatic Millionaire is built around exactly that idea, and it has been a favorite of everyday savers for years. It even has an updated edition for today’s readers.
What the Book Is About
David Bach tells the story of an ordinary couple with regular jobs who built real wealth over time. They did not have a huge income or fancy investments. What they had was a system: savings that moved automatically, before they ever had a chance to spend it. Bach uses their story to show that consistency usually beats willpower.
The Big Ideas
- Pay yourself first. A portion of every paycheck goes to you, your future self, before the bills and the fun money.
- Make it automatic. Set up transfers and payroll deductions so saving happens without any monthly decisions.
- The Latte Factor. Bach’s famous phrase for the small daily purchases that add up. His point is to notice them and choose on purpose, not to give up every treat.
- Build a cushion. He encourages an automatic emergency fund so surprises are covered.
- Automate debt payoff and homeownership goals. He also discusses paying a mortgage down faster with automatic extra payments.
Who Will Enjoy It
This is a wonderful pick for busy people who would rather set something up once than track every penny. It is quick to read, story driven, and encouraging. Readers at any age can use the automation idea, whether for retirement, a travel fund, or a holiday gift jar.
Ideas Readers Can Consider Today
- Schedule a small automatic transfer to savings the day after payday. Even a modest amount builds a happy habit.
- Track your small daily purchases for one week, then keep the ones you love and redirect the rest.
- If your workplace offers a retirement plan, look into whether you can raise your contribution by a little each year.
- Set up automatic bill payments to keep everything on time and stress free.
These are ideas readers can consider, not personal financial advice. Your own budget and goals come first, and a trusted professional can help with specific choices.
Try It Free First
The Automatic Millionaire is widely available at public libraries, often as an ebook or audiobook through Libby or Hoopla. Because it has sold so many copies, used paperbacks are easy to find at thrift stores and library sales too.
Why Some Readers Like Owning a Copy
Many readers like keeping it handy for the step by step checklists, and it makes a cheerful gift for a new graduate or newlyweds. When comparing listings, check whether you are getting the original or the updated edition, since the newer one reflects more current accounts and tools.
Professor Ima’s Wrap-Up
The easiest homework is the kind that does itself. Set your savings on autopilot, enjoy your coffee, and let time do the heavy lifting. A gold star for every automatic transfer!
As an Amazon Associate, Cheap101 earns from qualifying purchases, at no extra cost to you. Browse more handy finds in the Student Store.
How to Mop for Less (Refillable Spray Mops and Washable Pads)
Sparkling floors can be quick, easy, and wonderfully thrifty. A refillable spray mop with washable pads lets you fill it with your own cleaner, toss the pads in the laundry, and enjoy a fresh shine again and again without buying refills.
The Thrifty Way to Clean Floors
Welcome back, class! Many popular floor mops are designed around disposable pads and special bottles of solution that you buy again and again. The mop itself might be cheap, but the refills keep calling your wallet. Today we learn how to keep the convenience and skip the repeat purchases.
Steps for Clean Floors in Less Time
- Sweep or vacuum first. Picking up crumbs and grit before mopping keeps your pad cleaner and your floor shinier.
- Go light on liquid. A fine mist is usually all you need. Less water means faster drying and no streaks.
- Work toward the door. Start in the far corner and mop your way out so you never step on a wet floor.
- Use a figure-eight motion. It gathers dirt into the pad rather than pushing it around.
- Swap pads for big rooms. Having two or three pads lets you switch to a fresh one halfway through.
- Do little and often. A quick five-minute mop of the kitchen keeps it looking lovely between deeper cleans.
A Simple Homemade Floor Spray
For many sealed floors, plain warm water with a few drops of dish soap works nicely. Keep it light so it does not leave a film. Always check your flooring maker’s care advice first. Some floors, like natural stone, do best with gentle, pH-neutral cleaners rather than vinegar, and waxed or unsealed wood floors usually prefer very little water. When in doubt, test a small hidden spot.
Try It Free First
Already own a disposable-pad mop? You may be able to give it a second life. Many people wrap an old washcloth, a cut-up towel, or a worn cotton sock around the head and tuck the edges into the grippers. Pair it with a clean spray bottle of your own cleaner and you have a refillable system for free.
Where Refillable Spray Mops Fit In
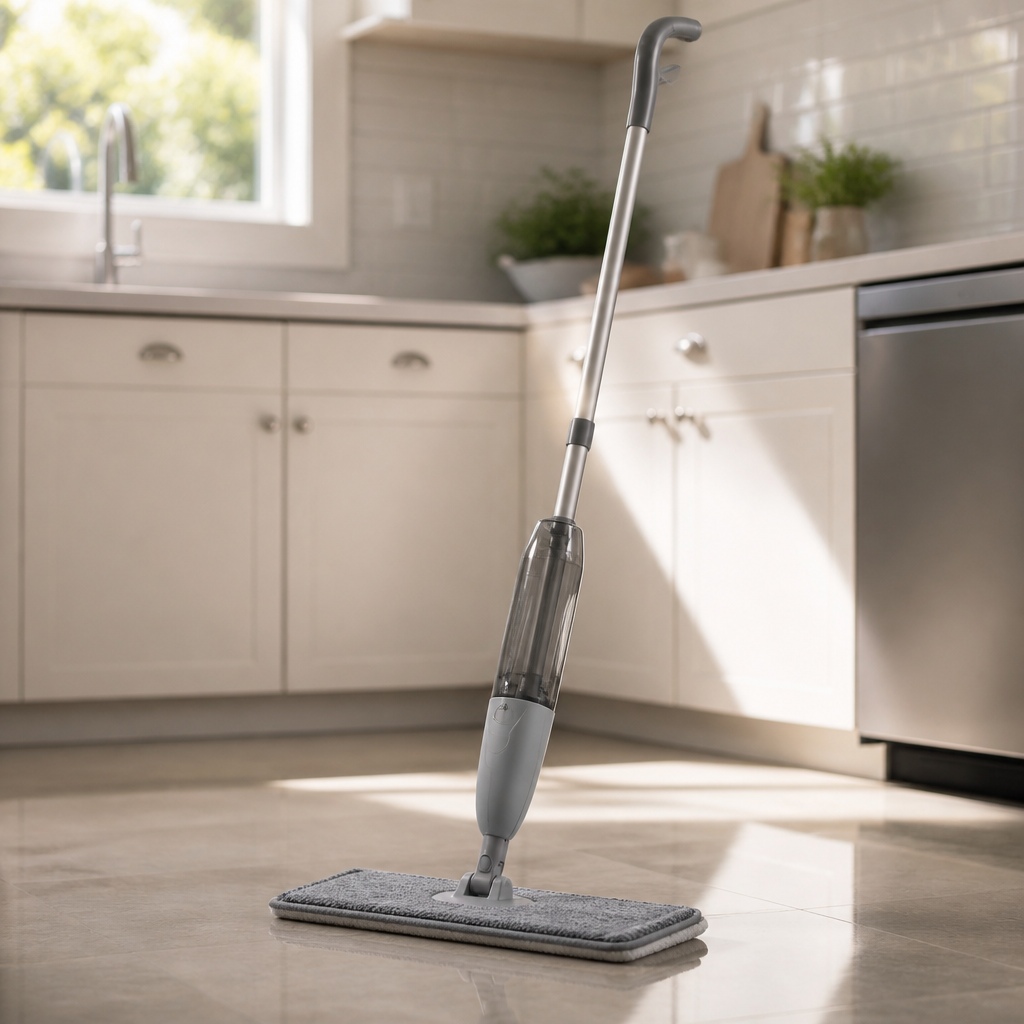
A refillable spray mop has a built-in bottle on the handle that you fill yourself, plus a trigger that mists the floor ahead of you. The pads are washable and reusable, so you simply pop them in the washing machine. Many people like how light these mops are, how little water they use, and how quickly the floor dries. They suit small kitchens, bathrooms, and anyone who wants a quick clean without hauling a bucket.
What to Look For When Comparing
- Refillable bottle: make sure it can be filled with any cleaner you choose.
- Extra washable pads: sets with several pads save you from washing mid-clean.
- Handle length and weight: a comfortable height makes the job easy.
- Swivel head: helps reach under furniture and around corners.
- Floor type: check that it suits your surfaces.
- Reviews and return terms: compare listings before you choose.
Professor Ima’s Wrap-Up
Clean floors, happy feet, and a budget that shines just as bright. Sweep first, mist lightly, and let washable pads do the work over and over. That is a lesson worth mopping up an A for!
As an Amazon Associate, Cheap101 earns from qualifying purchases, at no extra cost to you. Browse more handy finds in the Student Store.